Umbrella

Umbrella
Powerscourt, Ireland.

Sunday, June 24, 2012

Raised Beds From Repurposed Shipping Pallets


 Building a RRR (Reduce~Reuse~Recycle) Garden at Cabrillo Elementary
 
Caleb watering the RRR Garden.
My son, Max is a First Grader at Cabrillo Elementary School in San Diego, California. I help out in the classroom quite a bit and I was shocked at how far removed our kids are from the food chain.  This got me thinking.  The first graders should have a first person, hands on experience with their food...and what better way than to start a garden.  The largest issue was that starting a garden is expensive.  Materials, soil, plants and seeds can add up.  Where there is a will, there is a way.


I had been looking on youtube and came across several variations of using a shipping pallet to build a raised bed.  None of the videos were exactly what I was looking for, but they were definitely the catalyst for the project.  I checked on the "Free" section of craigslist and found that a neighbor was doing some landscape work and had pallets to spare.  

I was after a simple method.  My initial thought was to use 2 pallets per bed.  I figured we could just cut the first pallet in half and the second pallet in quarters.  The only issue with this was that I needed my husband's tools (& help) so with that came his vision of the project.  He is more of a perfectionist where I am more of a 'quick and easy as long as it works' type, so we actually did both methods!

Larry assembling the "pretty" version of the boxes.
Larry's idea was to take the pallets apart and reassemble them into the planter boxes.  This method produced much more attractive planter boxes, but it was a pain in the neck.  We used a nail pry bar to loosen the boards and then took them apart.  We removed all of the nails, since they would be used by kids and reassembled the boards with an impact driver (like a drill & screwdriver combo) into a finished box.

Small box made of left over short boards.
The other added advantage to Larry's method is that the boards are close together so the soil will stay in the boxes without additional steps.  For another class of older kids, we made the box Larry is working on (above) that was square, about 42 inches on each side.  For the First Graders, we made them about 42 inches by 21 inches or a half pallet by a quarter pallet.  We did this because we wanted the kids to be able to reach into the boxes.


Two of the finished boxes.
My method was to cut the pallet in half (Larry used a sawzall to cut through the board and nails) and used the short scraps (like 1/4 pallet size) to form the sides using the impact driver and screws.  Although this was much faster, the main drawback  was that there are gaps between the boards of a pallet, so cardboard was needed to line the inside of the boxes to keep the dirt in as pictured above right.


Larry & Max at Miramar Landfill.


So now we needed to fill these boxes.  Because the area that they were being placed was on asphalt, they needed to be fairly tall so that the roots of the plants wouldn't be scorched.  We filled the the bottom half of the boxes with composed hay, left over from the school's 71st annual Halloween Carnival.

As much free compost as you want...Max was in heaven!
The top portion was of each box was filled with FREE compost from our city's landfill.  Basically, they take the green waste collected from households and turn it into compost, which is then offered for free to any resident of San Diego.  Check your city to see what's offered in your area.


Finished Product!


 So our next step was to plant out the boxes.  Since it was nearing the end of the year, we needed items that would grow fast.  I had sprouted some sunflower seeds from raw seeds at Trader Joes.  The only issue is you know you're going to get a sunflower, but not sure what variety...giant or dwarf.  The plus is that you get thousands of seeds for about $1.50 and can eat the rest.

The kids then each got to plant beans, radishes or lettuce, all of which grow pretty fast.  Our local Crown-Ace hardware donated the marigolds and tomato plants.

Cabrillo Elementary School First Grade RRR Garden Area.
Box on the left contains yellow squash, sunflowers & marigolds.
Box on the right contains sunflowers, beans, radishes,
lettuce, tomato,marigolds & pinwheels keep the birds away!


Brianna, Jennifer, Margarita & Miguel.
 As part of the curriculum, the kids made observations on the things they had planted, including drawings!  In the red tub, each kid threw in a hand full of birdseed and made predictions as to what would grow.  We got predictions on everything from a peach tree to watermelon...lol!  The green pots are potatoes, which grow green plants very quickly.

Overall, the RRR Garden Project at Cabrillo Elementary was a success.  The kids have a better understanding of where food comes from and the classes next year are set up to do the same.  On the last day of school, each kid got to take home a plant from the garden.  They were so proud of their accomplishments..."I grew this!"


Brandon & Reggie watering the garden &
making observations in their Science notebooks.

Monday, April 23, 2012

Globe Quilt~A Generational Experience

I've only been sewing about a year, so I'm really not that good yet.  This quilt, however was a lot of fun to make and not too difficult for me.  It also has a story.

When I was a young girl, my grandmother, Dorsey, made me a denim shirt and embroidered flowers, birds and strawberries on it...exquisite work. My grandmother was an amazing woman and so talented in so many different areas.  She was an expert seamstress as well as very talented at hand embroidery.  She could garden and cook....really she could do anything she put her mind to.

When I still lived at home with my parents, I remember cleaning out my closet and coming across the 'fancyshirt' Dorsey had lovingly made for me.  Because I was young, I was going to to give it away.  My mother, another wise woman, took it and put it away in her closet.  Many, many years later, I came across it on a visit to my parent's house.  I asked my mom if she would mind if I took it back.  You see, I had just started sewing and when I saw the blouse I formulated a plan.  I saw a keepsake that I could share with the rest of Dorsey's grandchildren.

My grandmother had seven grandchildren and five of us have children.  Although my grandmother, Dorsey,  lived long enough to meet only one of her great-grandchildren, I want all of them to have a part of her, as well as pass down her love of sewing through me and my work.

My sweet cousin, Crockett is 9 years old and this week he lost his daddy.  It really breaks my heart.  It also makes me realize that if I really want to embark on this journey of leaving a part of Dorsey with the next generation, I need to start now.  Also, when I get bad news, I like to DO something...so I started sewing.  Here is my journey.


I started with Dorsey's shirt, a world map fabric panel, some boy-themed 'I-Spy' squares, flannel fabric for the quilt back, fabric for the binding.  Supplies used are as pictured.


After I added a flag and I-Spy boarder, I cut some batting and the blue flannel fabric a bit larger than the quilt top.  I then made the 'quilt sandwich' and held it in place using about 20 safety pins.


After I quilted the top following the latitude and longitude lines, I trimmed the quilt (no picture...sorry) and sewed on the binding.  That's me and my 'Hello Kitty' 3/4 size sewing machine.  Having a simple, no frills machine really makes sewing much easier and enjoyable.


So now the fancyshirt has a new life as part of a quilt!  Crockett gets a small strawberry embroidered by Dorsey on a quilt made by his Cousin Marti.  It's a family quilt made by two different generations.

 
Here's the finished project, ready to be boxed up and sent to my sweet cousin!
Hope you enjoyed the journey and look for more of these 'Cousin Quilts' in the future!

Cheers~
Marti in San Diego

Sunday, October 30, 2011

Bloggers Quilt Festival

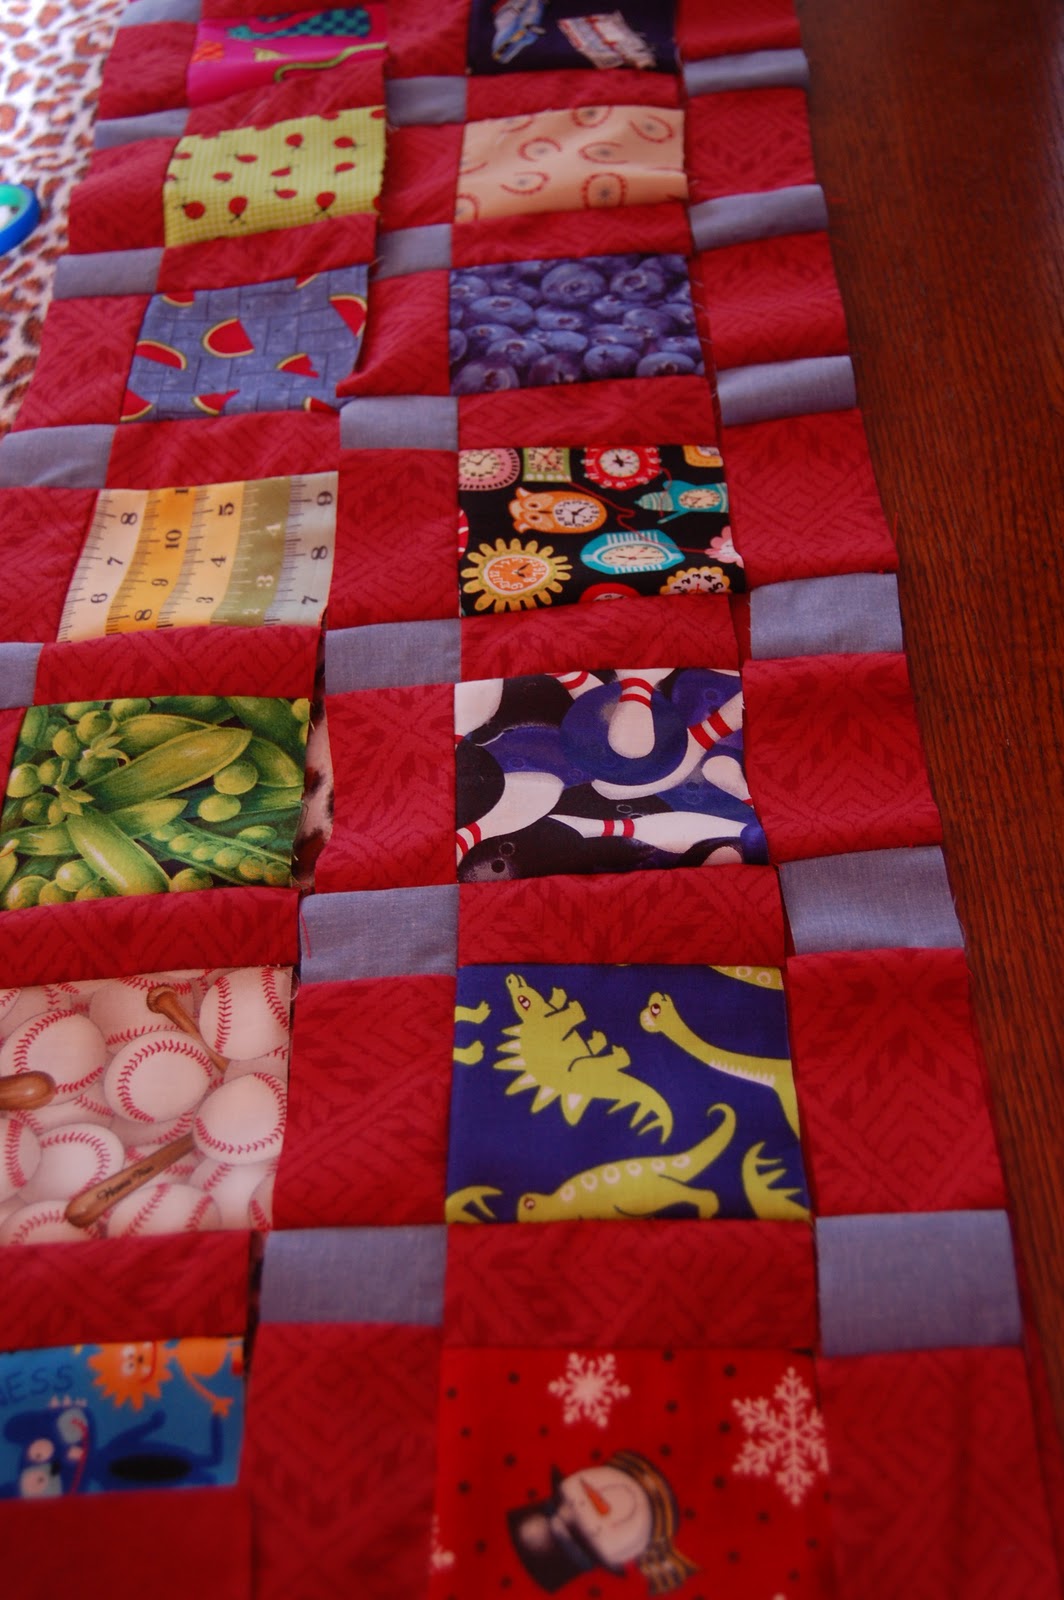
I-Spy Quilt (Disappearing 9 Patch)


This is the first quilt I ever made.  Actually, it's one of the first things I ever made.  I started sewing not quite a year ago.  My son, Max has pretty short legs, so I bought a sewing machine so I could hem his ridiculously long pants.  So last year around Thanksgiving, I started on this journey.  You see, I really didn't even know how to sew.


By January I thought I was ready to try a quilt.  It actually came out quite well.  It's ironic that such an old fashioned art, like quilting and sewing, could be taught through modern methods.  I watched clip after clip on youtube and read blog after blog on tutorials.  One of my favorite teachers was Jenny at MISSOURI STAR QUILT COMPANY.  Another was Care at OBSESSIVELY STITCHING.  I learned how to thread the machine, sew and then quilt.  There is so much information out there that it made sewing...and making this quilt easy!


I didn't even know enough to buy actual quilting materials.  The quilt back and red sashing is an old red sheet.  The small blue setting squares and boarder are another old chambray sheet.  You can see from this picture that the "batting" I used is actually an old leopard print blanket.  The I-Spy squares mostly came from an I-Spy swap.  That's another great tradition that has gone modern through the internet!  You buy 10 I-Spy fabrics, mail 10 4" squares of each to your host and....Voila!  You have 100 different I-Spy squares to choose from!


I used a TUTORIAL from Care at Obsessively Stitching for a Disappearing 9 Patch Quilt: I-Spy Version.  I used ANOTHER TUTORIAL from Jenny at Missouri Star for the quilt as you go method.  The combination of both of these made my first quilt quick and easy.  Cutting out took a about an hour one day...the subsequent cutting, sewing and putting together took about another 5 hours on another day.  Instead of binding, I just folded the back over and sewed it on. 

I have many more plans for I-Spy quilts just like this one!  I have cut out another boy and 2 girl and versions and just need to put them together.  I'm not sure that using the quilt as you go method is actually easier.  I've made 4 other quilts and I'm still trying to decide.which way works best.  I will say that the disappearing 9 patch method does give you the most bang for your buck!


So here is the finished product and a sleeping kiddo.  I hope you enjoyed my journey from novice to quilter.

Cheers~
Marti

Friday, October 21, 2011

Halloween Placemats

 Don't have Halloween decor at your house?  Why not make yourself some Halloween Place Mats?

Recently I made some of these Halloween Place Mats.  It was super easy...anyone can do it!


You'll need assorted Halloween fabrics, sewing machine, thread, some sort of batting/interfacing.

I had a bunch of Halloween I-Spy squares, so I started with these.


Find a place mat you like the size of to use as a template, then sew together your fabrics.


Once your front is sewn, cut your back to about the same size. Place RIGHT sides together and sew around 3 1/4 sides.  Now turn inside out, add your batting (I used the stuffing out an old office chair...I'm all about repurposing!) and close your 4th side.  Quilt if you like. 

I quilted one set that I gave my sister and the other set (for baby Cooper and his parents) I just ironed to set the batting in place.

These are super easy and easily add a festive feeling to your house!  Enjoy!!


Cheers~
Marti


Sunday, October 2, 2011

Sticky Lemon Chicken

For those of you who have talked to me in the past few months, you're most likely aware that I have a new favorite dish...Sticky Lemon Chicken!  This is a Gordon Ramsay recipe and according to him (and I can't argue) it's F**cking Delicious!  Who would have thought that soy sauce, red wine vinegar, lemon and honey would make the best sauce I've ever tasted!

You'll need Chicken (I used boneless, skinless breasts) soy sauce, red wine vinegar, lemons, honey, thyme and a little olive oil.  I had lemon flavored olive oil so I used that for a very tasty lemon flavor!

I start with the olive oil and boneless skinless breasts (dusted in flour) in a hot pan.


Brown chicken on both sides, drain out a bit of oil, add soy sauce, red wine vinegar, thyme, juice of one lemon, about 1/4 cup of water and top with the slices of one lemon.  Cook about 15 minutes, add honey and you're done.  The most amazing and easy chicken dish!

Click on this Gordon Ramsay Clip to see how easy it really is!  I hope you try this dish.  Let me know if you like it as much as we do!

Cheers~
Marti

Thursday, September 22, 2011

Making Pizza With Max

Who doesn't love pizza?  Max is a particular fan of all things pizza.  As a matter of fact, I believe that "pizza" was Max's first sight word.  We were out and about one day when Max was about 4 and he pointed at a Pizza place and said, "Pizza."  It wasn't our usual place and we had never been there before. 

Here is a pizza we made over the weekend.


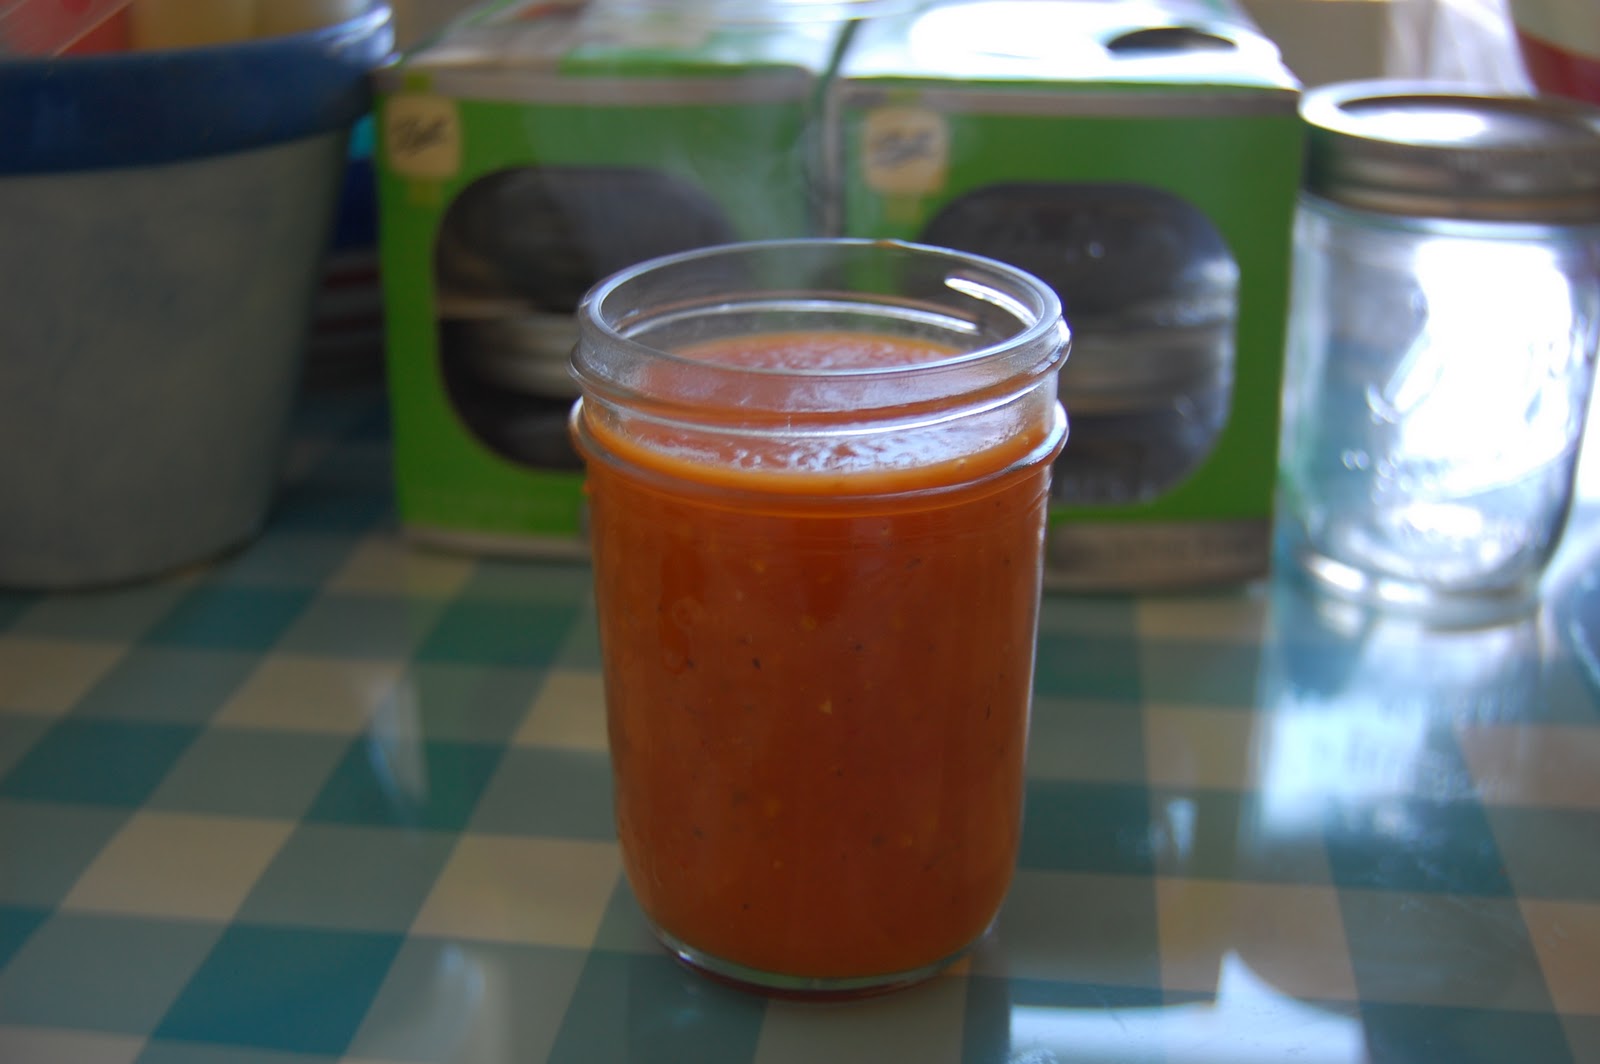
I had just made the mother lode of spicy tomato sauce (adapted recipe from book in the photo) and it makes a great base for the pizza! 


I made up a batch of dough using my kitchen aid mixer.  It's super easy....flour, water, yeast, salt, olive oil.  Max is rolling out the dough.  This is generally his favorite part of the process.


Give it a taste...just to make sure it's not sugar cookie dough...haha!


Here we are shaping it to fit in the pan.


Here, mommy!  Ok...I wasn't ready.  You need to think quick on your feet when cooking with Max!


Let's put the dough in the parchment paper lined pan.  Makes clean up easier and the pizza comes out very easily!


We spread the tomato sauce on, topped with cheese, tomatoes, spinach, mushrooms, yellow squash, red pepper and a little salami. 


We then baked in a 400 degree oven for about 15 minutes.  YUM!

Having your kids help you make a pizza is a great way to get them to eat veggies.  Max willingly ate spinach, tomatoes, squash, peppers, and mushrooms without any complaints.  He actually asked for more! 

Hope you enjoyed our pizza making....give it a try!

Cheers~
Marti

Monday, September 19, 2011

Canning Tomatoes

So the end of the growing season is both a happy and a sad time.  I love eating fresh foods that we have grown ourselves.  There really is nothing better tasting that a home grown tomato.  Put that on a BLT with a little avo and it's a slice of heaven on earth!  When the branches of the plants are brown and the harvest is dwindling, this is the time to preserve.  Although it's called "canning" it really is "jarring" your bounty.  Here is an account of my tomato sauce. 


Start with tomatoes, onions, garlic, seasonings. 


Dice onions and garlic, cut tomatoes in about 4" to 6" pieces.  Cherry tomatoes can go in whole.  Cook for several hours until falling apart.


Remove any large pieces of skin floating on top with tongs.  (Please ignore the tomato splattered stove)


Using a hand blender puree until smooth.  The recipe I used from the Ball Canning Book says to strain the mixture to get out the seeds and skin.  As there's lots of fibre in the skin and the seeds hold lots of nutrients, I left them in. 


Fill jars leaving 1/2" headroom.


Be sure to wipe off any drips and put on the lid.


Process in a boiling water bath for about 40 minutes with the lid on.


Voila!!!  You have fabulous tasting sauce for the Fall and Winter months!!


We had a little left over sauce, so I made up a dish for lunch.  I roasted some giant zucchini in the oven, added some salami, fresh tomato sauce and mozzarella.  Wonderful!


Canning (jarring...haha) really is easy.  You can only use the water method on high acid foods like pickles (later this week) or fruits.  Other veggies require a pressure cooker, which I do not own.  I hope you enjoyed my tomatoes as much as I did!

Cheers~
Marti

Monday, September 5, 2011

Family Camp in Big Bear


We just got back from Our Family Camp in Big Bear, California.  What an AMAZING experience!  There were families from Ventura County to San Diego and all places in between.  What was unique about this camp is that each family had a child with Down syndrome.  The kids ranged in age from 2 years old to teens....and there was fun stuff to do for all ages!  Marissa and her husband, Dave started the camp three years ago and it keeps growing every year!


(Look how dirty Max was after 5 minutes at camp!)

There were several sleeping options from tents to dorms.  Out of the 140 folks participating, most seemed to opt for the dorms.  Our family was one of 6 families that brought our own tent.  My son, Max, absolutely LOVES sleeping in the tent!  The camp also offers 3 sided cabins, which were not too popular with our group.  All food was included as well.

This was our campsite :-)


Brandon, Bella and Max (with hubby) had a lot of fun blowing bubbles!


Max loved riding on "Big Red" who spends half the year at Camp Oaks and the other half as a Polo Pony in Santa Barbara. 

Max also loved the boats...the life jacket had to go, though! 


Max testing out one of the ropes on the "Low Ropes" course.


Larry exploring the camp...he gives it a thumbs up!


We spent every afternoon in the pool.  Much to Max's disappointment, the pool was not open in the mornings.  It was pretty cold...even heated the water was in the mid-70's.


We liked the canoes so much we did them on both Saturday and Sunday!


Of all the activities, the piano in the lodge was one of the most popular...here are John, Sevilla and Max playing a number for the crowd!


Max with his pal Brandon (and Larry) on the way to the big campfire!


Family picture by the "lake."


There were all sorts of activities....we were just too busy having fun to take more pictures!  .We did a hay ride across the camp, swimming, hiking and participated in the camp fire.  The camp offered a climbing wall, archery and riffle range, but they were quite a walk for Max.  Although we were right next to the craft cabin, we never made it over there either.

We will most definitely be going back next year.  It was so great to meet  all of the kids and their parents.  It was more fun to participate in the activities as a family...with other families who have a shared experience.

Here are the 2011 campers!  Max is on Larry's shoulders in a lime green shirt.

Hope you enjoyed reading about Family Camp....we sure had fun participating!!

Cheers~
Marti