

Here is the almost finished product :-)

- I selected my fabrics. I chose pinks and tans as I have never made a "girly" quilt before. I wanted a quilt a bit larger than the tutorial, so I made my strips a little larger.
- Here are 8 strips of fabric that are 5 inches to the width of the fabric, so about 44 inches long.
- I then sewed all of the strips together, rights sides together.
- I sewed the first piece to the last piece, right sides together to make a tube (you can see a full demo on the Streak of Sunshine link in the intro).
- Then I cut the tube into 5 inch strips giving me 9 strips with 8 squares each.
- Since these were still in a tube, I took my seam ripper and removed one seam, each row one square over from the previous.

- Now I laid out my squares with the darkest pink square in the top left hand corner "streaking" down to the bottom right hand corner.
- I decided that I wanted a solid pink border, so I cut out a 3 inch border for all 4 sides.
- Here's where my real adaptations begin. Since I'm using the quilt as you go method, I need each strip, including the borders, to be complete. I needed to cut the 3 inch side borders into 5 inch pieces.
- I attached a pink 3 inch by 5 inch piece to both sides of each strip.
- Now I'm ready to put this quilt together!!!

- Start with you quilt back right side facing the table (or floor, where ever you lay out) then put your batting on top.
- Now you're ready for your first strip!

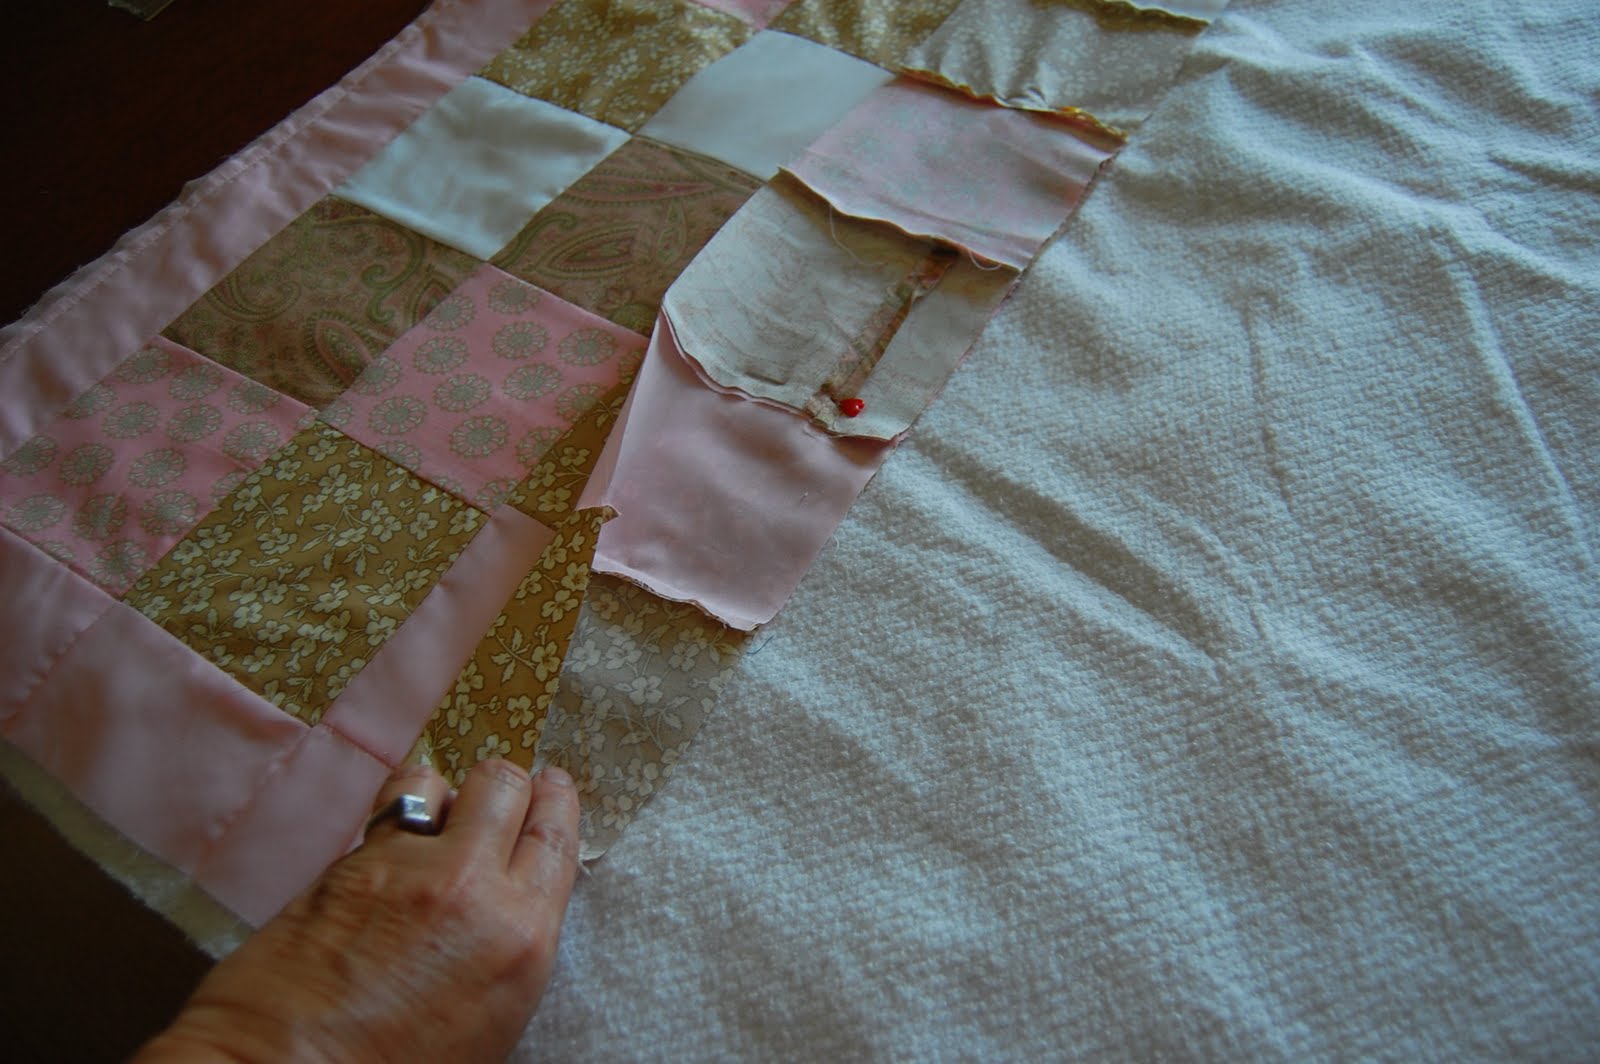
- Sew your top border on the quilt right side facing up.

- Now pin your first row of squares to the border, rights sides together and sew.

- Press open and you have your first row of your quilt!
- Continue to pin, sew and press until you are out of strips, ending with bottom border

- And here is the almost finished product. I just need to trim and add a binding.
This came together really quickly. The strip piecing method is quick. Add the the tube piecing and quilt as you go method and you make it super quick. The entire process took a few hours! I actually think it's taking me almost as long to write this post...haha!
If you're interested in either the quilt as you go method or streak of sunshine pattern-tutorial, the links are in the into section of this post. As a beginning sewer and quilter, I am amazed that I can make almost an entire quilt in a few hours. I think this can be used by someone at any level of sewing, beginner to expert!
I hope you enjoyed this and feel free to ask if you have any questions!
Cheers~
Marti


Great job! So pretty. I can't sew at all. I'd love to have you link this up to our Wicked awesome wednesday blog party this week.
ReplyDeleteHow neat, I love projects that are fast and easy. Thanks for explaining the process of making this quilt. I really like the look of it. Found you at TGC.
ReplyDeleteVery pretty! I've never tried quilting but this looks pretty doable!
ReplyDelete