Umbrella

Umbrella
Powerscourt, Ireland.
Showing posts with label easy. Show all posts

Wednesday, December 12, 2012

Simple Holiday Decorating


This year I decided to do things a little differently.  Generally I drag out the same old decorations...THAT I LOVE...and put them in about the same places every year.

Since I wasn't ready to bust out my decorations, I purchased 2 poinsettia plants from Home Depot.  I then placed several red candles on the mantle for a simple Holiday look.

Next I purchased 2 white slip covers at overstock.com to begin the big  transformation.  They each cost $39 and I even had a coupon!  I figure I can use them again in the summer for a fresh and/or Patriotic theme, so money well spent.

Then I took off the tapestry pillow covers on my throw pillows and made new covers.  This was much easier than I thought.  I used a tutorial (see HERE) for a quilt block to make 2 of the package design.  I eyeballed a Christmas Tree block (triangle with a stump on the end) and made 2 of these using old clothing of Max's as the tree. 
Now the pillows remind me of when Max was little and wore those cute little shirts!

Since Max's birthday is December 8th, we generally wait to do our decorating until after his party.  Eventually, we'll put up our tree and bring out all of the old favorites. For now, this is a holiday look, without a lot of fuss and work.

Hope you enjoyed this post!

Cheers~
Marti in San Diego


Friday, October 21, 2011

Halloween Placemats

 Don't have Halloween decor at your house?  Why not make yourself some Halloween Place Mats?

Recently I made some of these Halloween Place Mats.  It was super easy...anyone can do it!


You'll need assorted Halloween fabrics, sewing machine, thread, some sort of batting/interfacing.

I had a bunch of Halloween I-Spy squares, so I started with these.


Find a place mat you like the size of to use as a template, then sew together your fabrics.


Once your front is sewn, cut your back to about the same size. Place RIGHT sides together and sew around 3 1/4 sides.  Now turn inside out, add your batting (I used the stuffing out an old office chair...I'm all about repurposing!) and close your 4th side.  Quilt if you like. 

I quilted one set that I gave my sister and the other set (for baby Cooper and his parents) I just ironed to set the batting in place.

These are super easy and easily add a festive feeling to your house!  Enjoy!!


Cheers~
Marti


Sunday, May 1, 2011

Streak of Sunshine Quilt

So this week, I wanted to try something  a little different.  I came across a quilting tutorial for a Streak of Sunshine quilt at Qulitville.  I really liked the idea of getting a finished product quickly, but I am sold on the quilt as you go method demonstrated by Jenny at the Missouri Star Quilt Company.  I will try my best to document my process and my efforts at combining the two.


Here is the almost finished product :-)


  • I selected my fabrics.  I chose pinks and tans as I have never made a "girly" quilt before.  I wanted a quilt a bit larger than the tutorial, so I made my strips a little larger. 
  • Here are 8 strips of fabric that are 5 inches to the width of the fabric, so about 44 inches long. 
  • I then sewed all of the strips together, rights sides together. 
  • I sewed the first piece to the last piece, right sides together to make a tube (you can see a full demo on the Streak of Sunshine link in the intro).
  • Then I cut the tube into 5 inch strips giving me 9 strips with 8 squares each.
  • Since these were still in a tube, I took my seam ripper and removed one seam, each row one square over from the previous.


  • Now I laid out my squares with the darkest pink square in the top left hand corner "streaking" down to the bottom right hand corner.
  • I decided that I wanted a solid pink border, so I cut out a 3 inch border for all 4 sides. 
  • Here's where my real adaptations begin.  Since I'm using the quilt as you go method, I need each strip, including the borders, to be complete.  I needed to cut the 3 inch side borders into 5 inch pieces.
  • I attached a pink 3 inch by 5 inch piece to both sides of each strip. 
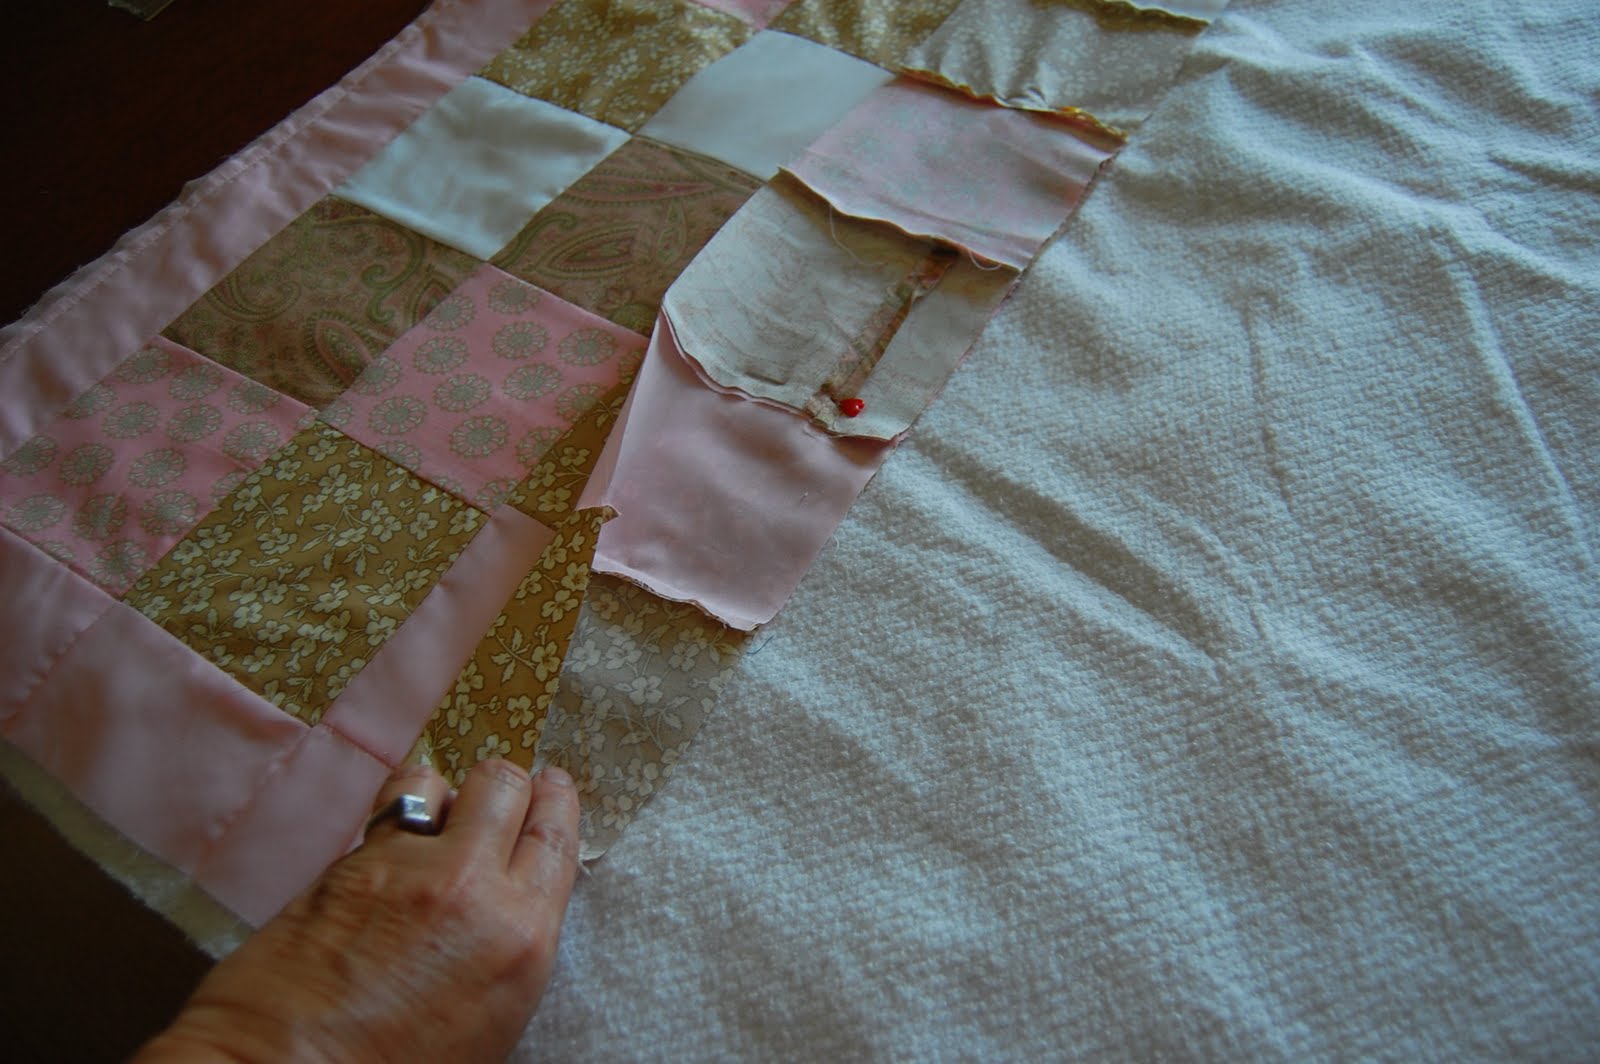
  • Now I'm ready to put this quilt together!!!


  • Start with you quilt back right side facing the table (or floor, where ever you lay out) then put your batting on top. 
  • Now you're ready for your first strip!

  • Sew your top border on the quilt right side facing up.

  • Now pin your first row of squares to the border, rights sides together and sew.

  • Press open and you have your first row of your quilt!
  • Continue to pin, sew and press until you are out of strips, ending with bottom border


  • And here is the almost finished product.  I just need to trim and add a binding.

This came together really quickly.  The strip piecing method is quick.  Add the the tube piecing and quilt as you go method and you make it super quick.  The entire process took a few hours!  I actually think it's taking me almost as long to write this post...haha!

If you're interested in either the quilt as you go method or streak of sunshine pattern-tutorial, the links are in the into section of this post.  As a beginning sewer and quilter, I am amazed that I can make almost an entire quilt in a few hours.  I think this can be used by someone at any level of sewing, beginner to expert!

I hope you enjoyed this and feel free to ask if you have any questions!

Cheers~
Marti

The Girl CreativeDittle Dattle

Wednesday, April 20, 2011

Little Bunnies

I wanted to try my hand at sewing something for Easter, for Max and for gifts.  I did a quick internet search and come across Twig & Thistle's Poppy the Easter Bunny.  These looked easy enough, so I gave it a go.  Wow, were they easy and addicting!  So far I've made 10 of them!


This first batch went off in the mail to my nephew, Cooper.  Baby Cooper is 9 months old, so I had to make sure there was nothing that could be harmful.  These are made of a cozy flannel.

So let's get started.  I used this pattern from Twig & Thistle as a jumping off point:  BUNNY


The pattern had 2 bunnies and indicated cutting out a front and a back.  I folded my fabric and placed one  template on the fold.  This way my cutting didn't have to be as accurate and I had a little less sewing to to.


The more of these I made, the more adaptations I made to the pattern.  I made the tails a bit more prominent.  I also added a sewn eye and whiskers to my bunnies.


I made blue boy bunnies and pink girl bunnies.  I used the same template to make a pair of bunnies...a bigger bunny and a smaller bunny. 


So art imitates life.  These fabric bunnies were multiplying, like....well rabbits!  My next batch of bunnies will be made of fabric scraps sewn together in strips. 

I hope you enjoyed this....feel free to ask any questions you might have.  Happy Easter to those of you who celebrate the Holiday!

Cheers~
Marti

BLOG TITLE                                                              Sun Scholars